The Small Business Owner’s Guide to Product Photography
It can be exciting to own a small business. Today’s website builders give you all the tools you need to launch a Commerce website and get your name out there quickly and easily. It can, however, be challenging to switch hats at least twice while being a one-man show. We’re going to discuss how to create attractive and vibrant images of your products today.

A good picture of your products will keep visitors scrolling longer on your site and boost conversion rates. Having good photos of your company and products will give your visitors a sense of confidence when they visit your website.
In recent studies, 78% of online shoppers want to see more images on eCommerce sites so they can visualize the products better. Don’t worry if you’re not a natural photographer. With time, creativity, and these simple steps, you can learn how to photograph products like a pro. You don’t need to be a professional to get professional-looking results.
01. Lighting is everything for The Small Business Owner’s Guide to Product Photography

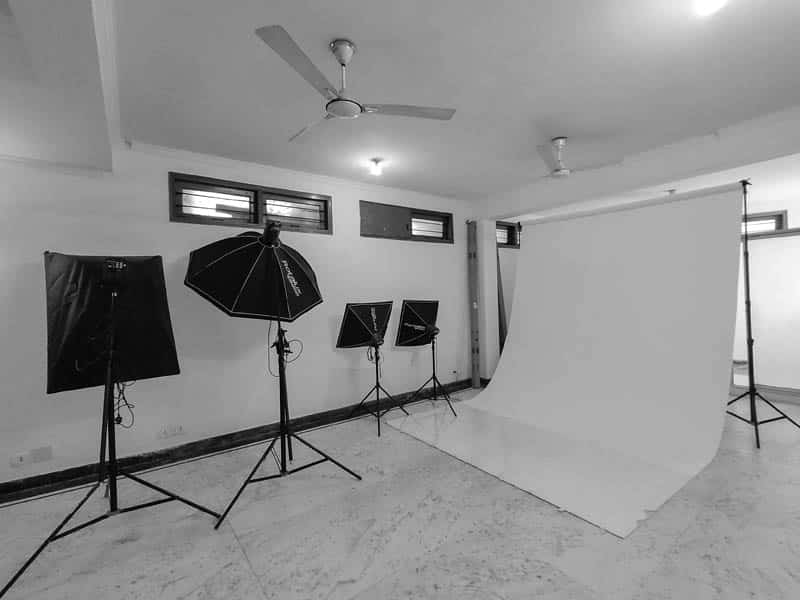
Product Photography is about finding and mastering the right light for every situation, whether you’re photographing your products in a studio or outdoors. Here are two types of lighting you can use.
When photography three-dimensional objects, soft lighting creates a halo-like effect. Additionally, this eliminates harsh shadows, which is essential.
It is more contrasty in hard light and shadows are more defined. Standing under the sun creates shadows.
A variety of ways can be used to achieve soft lighting in product photography. It is a good idea to avoid direct sunlight when working with a natural light source like the sun and instead use a diffuser, or any material that diffuses light. To make your light source ‘softer’, cover it safely if it comes from a window, lamp, or light.
Safety comes first when covering a window with a sheet, parchment paper, or light blanket. Be careful when doing so over a lamp as it could pose a fire hazard. Reflectors are another great option. The use of reflectors is an easy and affordable method of ‘bouncing’ or flagging natural and artificial light.
Lightboxes provide a translucent surface and illuminated background for your photographed products, also known as light tents, macro studios, or light cubes. It does not have to be an expensive investment, and you might be surprised to learn that you can do it yourself. You can make your own box with only a cardboard box, tape, transparent paper, and scissors, giving the same result as a professional studio setting. It also takes no time to set up, and is portable.
In addition to being known as a light tent, macro studio, or light cube, a lightbox gives your photographed products an illuminated background with a translucent surface. You don’t have to spend a fortune, and you might be surprised at how easy it is to make your own. Using a cardboard box, tape, transparent paper, and scissors, you can make your own box that looks like a professional studio. The box is easy to transport and set up as well.
02. Know your angles

Three angles are commonly used for product photography:
- When photographing objects from above, such as shoes, clothes, boxes, or kitchen tools, top-down (also known as bird’s eye) photography is ideal.
- It’s common to use the 45 degree angle (standing eyesight) to emphasize dimensions in kids’ toys, electronics, and home decor items.
- A 0 degree angle (table level) is popular for products that stand up, such as bottles, jars, glass and containers.
- You can view shapes and colors from a variety of perspectives, so if possible, take multiple pictures. By doing so, your customer will have a better idea of the product’s size and dimensions. You can add as many photos as you like, but you should also add a short video to your product page.
03. Experiment with Macro settings

This can be achieved with either a DSLR camera or a smartphone. Macro photography is ideal for photographing small products such as jewelry, cosmetics, food, and more.
Use your smartphone’s macro setting to highlight details (usually represented by a flower). If you own a DSLR camera, you will get the best results by using a 50mm lens. When photographing the same product, use different lenses and modes for the best results
04. Choose a background that will compliment your products

A clean, white background is the best way to display products so that there are no distractions. If black is too dark, try dark gray. You want the eye to focus on the product rather than the background. Some products stand out more against dark backgrounds, so don’t be afraid to experiment.
Consider your target audience and the end goal when choosing a color for your background. Your products can look expensive if you choose the right background, but they can also look cheap if you choose the wrong one. Before choosing the color of your background, think about your target audience.
05. Play with composition

Arrangement is the process of arranging visual elements in a way that complements one another. When photographing multiple items together, rearrange them as many times as possible to find the best fit. It may be better to photograph your items separately during this process, or vice versa.
Put a box behind books to keep them standing up, or hang earrings on jewelry hooks to keep earrings standing up when selling small or non-standing products.
06. Keepin’ it steady

In order to take photos of products in a steady manner, you need to keep your camera steady. To help you do just that, some inexpensive gadgets are available. You can use a tripod for your camera or a smartphone mount for your phone. You can either buy them online or make your own tripod. Finally, use the countdown timer on your smartphone or camera to avoid moving your tripod or mount accidentally.
07. Beware of filters!

You can upload your images to your online store safely now that you have your images. It is as important to describe the image as it is to the image itself. It might seem obvious, but describing your product down to its dimensions, material, and weight plays a crucial role in reducing returns and complaints. Keep your text short and straightforward. Do not overcrowd your images with unnecessary information. Take inspiration from the product pages of big companies that have a similar look and feel to your store.
You need alt text on all your images so that Google and Co. can understand what they are about. The description should also include some relevant keywords and a brief description of the product.
As soon as you have photographed your products, your eCommerce website will allow you to build, manage, and promote your stunning online store for free.